
SBC Technical Guide
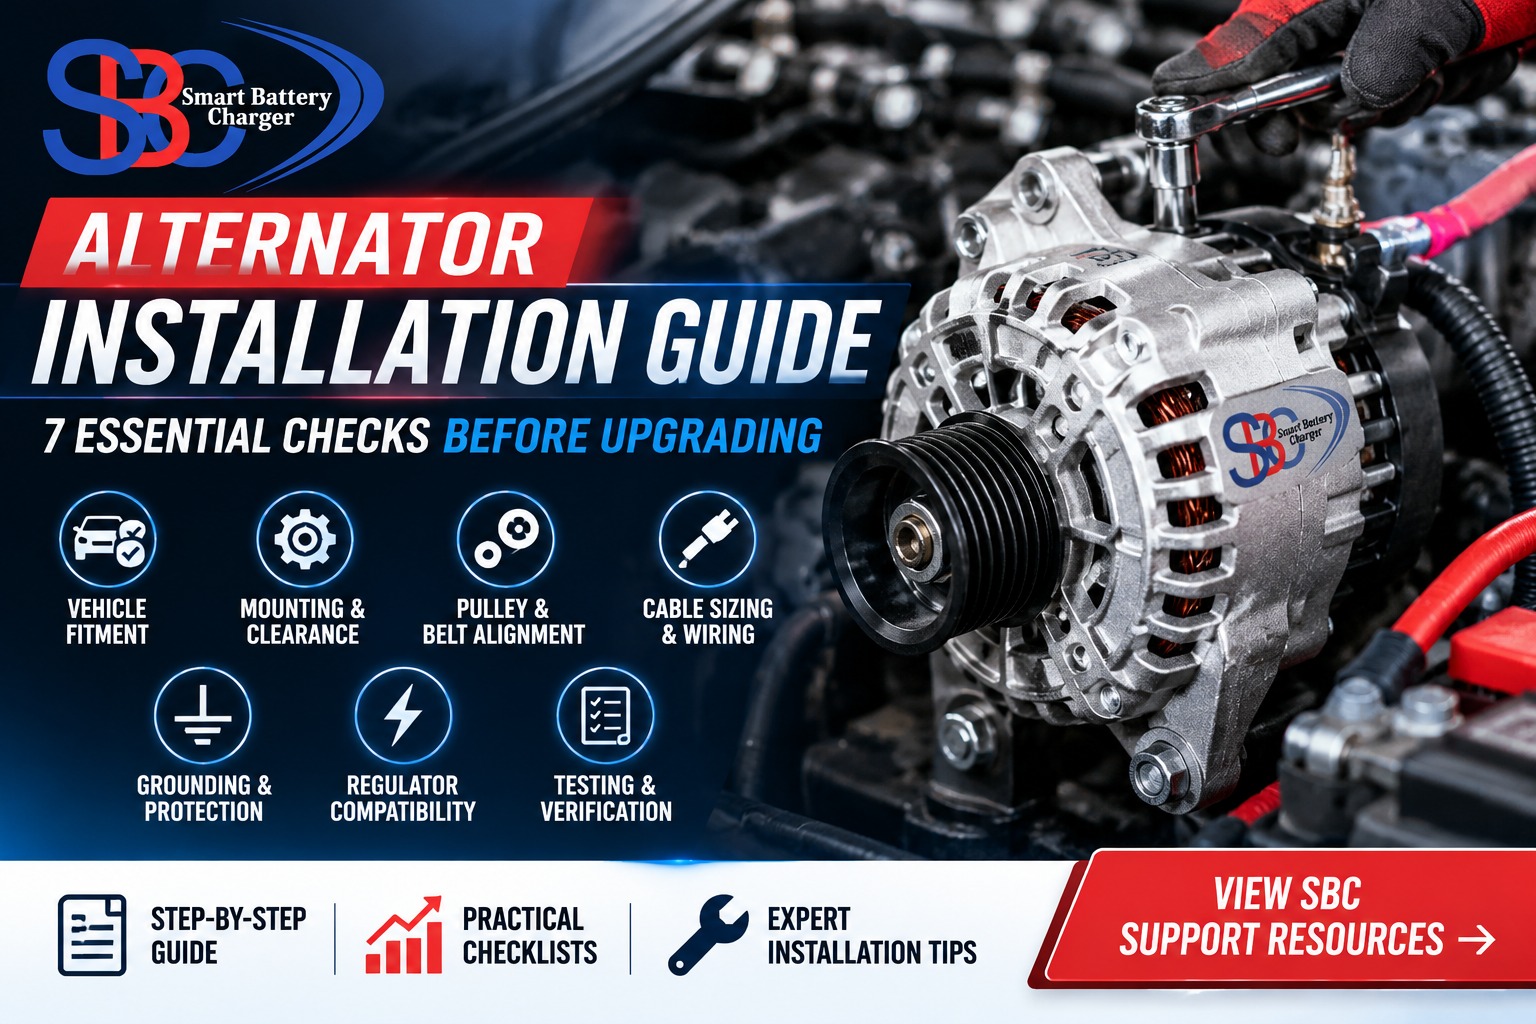
Alternator Installation Guide: 7 Essential Checks Before Upgrading
Planning a factory alternator replacement or high-output upgrade? Use this practical alternator installation guide to check fitment, belt alignment, wiring, grounding and charging performance before returning the vehicle to service.
View SBC Support ResourcesAn alternator installation guide helps vehicle owners, technicians and upfitters prepare for an alternator replacement or high-output upgrade. Before installation begins, confirm the exact vehicle application, mounting arrangement, belt drive, wiring capacity and regulator compatibility.
A higher-output alternator can increase available charging capacity, but the complete electrical system must be suitable for the intended current. The mounting hardware, cable connections, grounding path and charging controls all contribute to reliable operation.
Quick Answer: What Should You Check Before Installing an Alternator?
- Verify vehicle, engine and alternator fitment.
- Inspect mounting brackets, pulley alignment and belt condition.
- Confirm cable sizing, electrical connections and grounding.
- Check regulator and vehicle charging-system compatibility.
- Use suitable overcurrent protection.
- Test charging voltage and performance under appropriate loads.
- Inspect for abnormal noise, movement or heating.
1. Alternator Installation Guide: Confirm Vehicle Fitment
Start by confirming that the replacement alternator is designed for the exact vehicle and engine application. Similar engine names or model years do not guarantee identical mounting points, electrical connections or pulley arrangements.
- Vehicle and engine: Verify the model, engine code, year and relevant variant.
- Mounting arrangement: Compare mounting ears, bolt positions, bracket clearance and available space.
- Electrical configuration: Confirm system voltage, output terminal and regulator connections.
- Pulley configuration: Check pulley type, belt profile and compatibility with the existing drive.
- Output rating: Match the alternator specification to the intended electrical application.
Compare the replacement unit with the original before installation. DENSO’s alternator removal and installation guide explains why case dimensions, pulley offset, mounting holes and connector locations should be checked.
2. Inspect Mounting Brackets and Mechanical Clearance
The alternator must be securely mounted and correctly aligned. A unit that appears to fit can still leave the pulley out of line or create clearance problems around nearby engine components.
- Inspect brackets for cracks, distortion and damaged threads.
- Confirm the correct placement of mounting bolts and spacers.
- Check clearance around hoses, wiring, fans and adjacent accessories.
- Follow the specified fastener torque values for the vehicle.
- Do not force misaligned parts together using mounting bolts.
3. Check Pulley Alignment and Belt Condition
Pulley alignment is essential for reliable alternator operation. Misalignment can contribute to belt noise, accelerated wear and drive problems.
- Alignment: Verify that the alternator pulley lines up with the other drive pulleys.
- Belt condition: Inspect for cracking, glazing, contamination and fraying.
- Tension: Use the vehicle manufacturer’s specified procedure.
- Pulley compatibility: Confirm pulley type, shaft compatibility and belt profile.
- Noise: Investigate squealing, vibration or abnormal bearing noise.
Do not assume that the original pulley can be transferred to the replacement alternator. Verify shaft, thread and offset compatibility first.
For additional technical resources, visit the SBC support page, which lists alternator installation and pulley-related documentation.
4. Size the Cables for the Intended Current
A high-output alternator may supply more current than the original charging circuit was designed to carry. Assess the positive cable and the complete return path instead of assuming the factory wiring is suitable.
Cable selection depends on expected current, circuit length, conductor material, insulation rating, installation temperature and acceptable voltage drop.
Use the SBC 12V wire size chart when assessing conductor sizing and voltage drop for a 12-volt circuit. Select the final cable specification for the actual installation conditions.
- Check cable gauge and insulation rating.
- Inspect terminals for corrosion, looseness or damage.
- Route cables away from sharp edges, moving components and excessive heat.
- Secure cables to reduce vibration and terminal stress.
- Verify voltage drop under appropriate operating loads.
Important Wiring Check
An alternator upgrade is incomplete until the charging circuit has been assessed for the intended current. Undersized conductors and poor connections can cause excessive voltage drop and dangerous heating.
5. Verify Grounding and Circuit Protection
The charging circuit needs a reliable return path. Depending on the vehicle design, current may return through the alternator housing, engine block, chassis bonding and battery-negative connections.
- Inspect engine-to-chassis and battery grounding connections.
- Check for corrosion, loose fasteners and damaged bonding straps.
- Confirm that the grounding arrangement suits the vehicle’s electrical design.
- Install appropriate overcurrent protection as required by the circuit design.
- Verify protection ratings against the wiring and equipment requirements.
Do not select a fuse solely from the alternator’s advertised maximum amperage. The cable, installation conditions and applicable component requirements must also be considered.
6. Confirm Regulator and Charging-System Compatibility
An alternator’s regulator controls its charging behaviour. Depending on the vehicle, the system may use an internal regulator, an external regulator or vehicle-controlled charging electronics.
Before fitting a replacement, verify the system voltage, regulator type, connector arrangement and any vehicle control signals. Physical fitment alone does not guarantee electrical compatibility.
- Confirm the specified charging-voltage range.
- Check regulator terminals and connector configuration.
- Verify compatibility with vehicle charging controls.
- Follow the alternator manufacturer’s operating limits.
7. Test Charging Performance After Installation
Once installation is complete, test the charging system using suitable diagnostic equipment and the vehicle manufacturer’s procedure. A warning light switching off does not establish that the alternator is performing correctly under load.
- Visual inspection: Recheck fasteners, wiring, belt routing and terminal covers.
- Initial startup: Listen for abnormal noise and watch for warning indicators.
- Charging voltage: Compare readings with the correct vehicle specification.
- Loaded operation: Check performance under appropriate electrical loads.
- Voltage drop: Test positive and ground-side circuits if readings indicate a problem.
- Temperature: Inspect accessible cables and terminals for abnormal heating.
DENSO’s charging-system troubleshooting guide covers belt inspection, wiring checks, voltage-drop testing and alternator output testing. Always use the specifications applicable to the vehicle being serviced.
Alternator Installation Checklist at a Glance
| Check | What to Confirm | Purpose |
|---|---|---|
| Fitment | Engine, mounting and electrical compatibility | Correct installation |
| Belt drive | Alignment, pulley and tension | Reliable mechanical drive |
| Wiring | Cable capacity and connections | Voltage-drop and heating control |
| Grounding | Secure return path | Stable current flow |
| Regulation | Regulator and vehicle compatibility | Correct charging behaviour |
| Testing | Voltage, current and loaded operation | Identify installation faults |
Common Alternator Installation Mistakes
- Choosing an alternator by maximum amperage alone.
- Keeping factory wiring without checking its current capacity.
- Ignoring pulley alignment and belt condition.
- Overlooking ground connections and circuit protection.
- Skipping loaded charging-system tests.
- Assuming that every regulator is interchangeable.
Frequently Asked Questions
Can I install a high-output alternator without changing the wiring?
Only if the existing wiring is suitable for the intended current and installation conditions. Assess cable capacity, circuit length, voltage drop, insulation and protection before deciding.
Should I replace the belt when installing a new alternator?
Inspect the belt for wear, damage, contamination and compatibility with the replacement pulley. Replace it when its condition or the vehicle manufacturer’s maintenance requirements call for it.
How do I confirm alternator fitment?
Check the vehicle, engine code, model year, mounting arrangement, pulley configuration, system voltage and regulator connections. Ask the supplier to confirm fitment if any detail is uncertain.
Why can battery voltage differ from alternator voltage?
Voltage drop across the positive cable or ground-return path can cause a difference, particularly under load. Use the vehicle’s diagnostic procedure to test the circuit.
Does a higher-amp alternator always charge faster?
No. Actual output depends on rotational speed, temperature, regulator behaviour, electrical demand and the charging system’s limitations.
Where can I find alternator installation documentation?
Visit the Smart Battery Charger support page for installation guides, wire-sizing resources and other technical materials.
Prepare Your Alternator Upgrade with SBC
A reliable installation starts with correct fitment and finishes with testing under suitable operating conditions. Checking mounting, belt drive, wiring, grounding and regulator compatibility helps ensure that the complete charging system is considered.
For cable selection, consult the SBC 12V wire size chart. For installation documentation, visit the SBC support page.
Planning a High-Output Alternator Upgrade?
Review your vehicle requirements and confirm fitment before selecting an alternator.
Explore Technical Resources Visit SBC